Optimising Camera Settings for Vibrant Aurora Displays
Capture the ethereal beauty of the night sky by mastering your camera settings. Learn how to balance exposure, aperture, and ISO to document the aurora with professional clarity.
Optimising Camera Settings for Vibrant Aurora Displays
Capturing the dance of the aurora requires a blend of artistic vision and technical precision. While nature provides the spectacle, your camera acts as the bridge between a fleeting moment and a permanent memory.
Live Aurora Forecast
Powered by Flarient — embed this on your site →
Understanding how your equipment interacts with low light is the first step toward success. Many photographers struggle with blurry shapes or grainy images when they first attempt to photograph the night sky.
The Science Behind It
The phenomenon of the aurora occurs when solar wind particles collide with atoms in Earth's upper atmosphere. This interaction transfers energy to the atoms, which then release it as visible light.
Charged particles from the sun are guided toward the poles by our planet's magnetic field. This creates the aurora oval that lightens the night sky in high-latitude regions.
Solar activity follows a cycle of approximately 11 years, with the sun reaching peak intensity at the solar maximum. During these times, the frequency of geomagnetic events increases, which often results in more vivid displays.
Real-World Implications
Geomagnetic activity does more than create light shows in the sky. High levels of radiation can affect satellite operations and power grid stability across the globe.
Scientists use the Kp index to measure these disturbances on a scale from 0 to 9. A higher value indicates greater auroral activity, but it also reflects potential strain on modern technology.
Professional researchers study these events through solar imagery like those found in our gallery to better predict space weather. Understanding these impacts helps engineers protect the systems we rely on every day.
What You Can Do
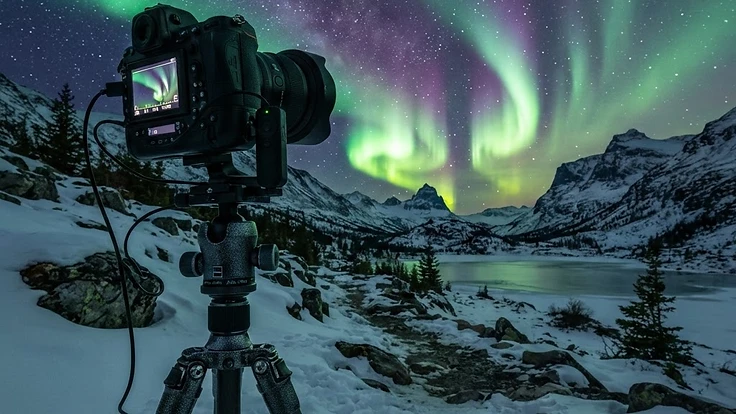
To capture sharp images, switch your camera to manual mode and set your lens to its widest aperture. A low f-stop value allows more light to hit the sensor, which is essential for short exposures.
Use a sturdy tripod to eliminate movement, as even minor vibrations will ruin a long exposure. For those looking to see the best displays, guided aurora tours in countries like Iceland, Norway, Canada, Finland, Sweden, and Alaska provide expert knowledge on finding optimal viewing spots.
Always monitor the local aurora forecast before heading out to ensure you are in the right place at the right time. You can also utilise our embeddable widgets to track conditions in real time if you run your own weather site.
For deeper insights, our guide on optimising camera settings for aurora photography offers specific advice on white balance adjustments. Keep an eye on the space weather glossary if you encounter technical terms that seem confusing at first.
Key Takeaways
Success in night photography relies on patience and preparation. Start by setting your camera to its widest aperture and adjust your ISO based on the brightness of the display.
Keep your shutter speed fast enough to prevent star trails while slow enough to capture the movement of the lights. Experimenting with different exposures will help you develop your own unique style over time.
Remember that the best photos often come from planning ahead. Monitor solar activity, find a dark location away from city lights, and enjoy the experience of watching the night sky.
People Also Ask
What is the best ISO for aurora photography?+
For most modern full-frame cameras, an ISO between 1600 and 3200 is ideal. If your camera sensor produces significant noise, you may need to lower the ISO and increase your exposure time, though this can cause the aurora to lose its sharp, defined shape due to motion blur.
Does the phase of the moon affect aurora photos?+
Yes, a bright full moon can wash out faint auroras, making them harder to photograph. However, a small crescent moon provides enough light to illuminate the foreground landscape without overpowering the sky, often resulting in a more balanced and professional-looking photograph compared to shooting in total darkness.
Why does my aurora look blurry in photos?+
Blurriness is usually caused by either a long exposure time that captures the motion of the lights or incorrect focus. Because the aurora moves, exposures longer than 10 to 15 seconds often result in a washed-out, blurred look. Always use manual focus on a bright star to ensure sharpness.
Continue Reading